Growing and Caring for Peace Lilies: Essential Tips for Peace Lily Plant Care
Published on
August 18, 2025
Author
Sarah Wilson
Sarah Wilson started her gardening journey during the pandemic and had fallen in love with it ever since. Eager to connect with fellow garden enthusiasts, she wants to share the knowledge she's gained over the past three years.
Ornamental Plants Q&A
Can I grow ornamental plants with names I do not know in pots?
Yes! Almost any plant can thrive in a container as long as the pot is the right size and has drainage holes at the bottom. From indoor houseplants to outdoor shrubs like boxwoods, the key is simply matching the container to the plant's root size and ensuring excess water can escape.
What is the difference between an annual and a perennial plant?
This is a great question for any new gardener. An annual plant, like a Marigold or a Zinnia, lives its whole life in just one year. You plant the seed in the spring, it grows flowers all summer, and when the winter cold comes, it dies completely, meaning you have to plant new ones next year. A perennial plant, like a Hosta or a Lavender, will go to sleep during the winter but its roots stay alive, and it will push out new green leaves and flowers every single spring for many years.
Are beautiful ornamental plants hard to take care of?
Not at all. The secret to low-maintenance gardening is "right plant, right place." A shade-loving plant put in a dark corner will thrive with almost no effort, whereas a sun-loving plant in that same spot will constantly struggle. Once you match a plant to your yard's specific sunlight and soil moisture, many stunning ornamentals will practically take care of themselves.
Growing Bell Peppers Q&A
Are peppers easy to grow for beginners?
Yes, sweet bell peppers are generally easy to grow as long as you wait until the weather is thoroughly warm before planting them outside. Providing consistent water and full sun does most of the heavy lifting.
Do I need to wear gloves when handling sweet bell peppers?
No. While handling hot peppers requires care (and often gloves) to avoid burning your skin or eyes with capsaicin, sweet bell peppers have zero heat and are perfectly safe to handle bare-handed.
Can I grow a bell pepper from a scrap from my kitchen?
While you can technically harvest seeds from a store-bought pepper scrap, it is not recommended. Grocery store peppers are often hybrids, meaning their seeds will not grow true to the parent plant, and they may be treated to prevent germination. It is always better to buy dedicated pepper seed.
Garden Styles Q&A
How do I find my garden style?
To find your garden style, gather garden design ideas that match your personal taste and outdoor space. Whether you work alone or hire a landscape architect or garden designer for your project, find the perfect fit by looking at various styles. You might prefer the clean lines of a modern garden or the meandering paths of a Japanese garden style.
What is the best design style for a small garden or apartment?
For an apartment, small garden, or urban garden, container gardening is your best friend. A courtyard or city garden setup looks great with the sleek lines and hardscape of contemporary gardens. You can also create a mini Mediterranean garden with fragrant herbs like rosemary in pots, or a compact tropical gardens layout with bold tropical plants.
How do I choose the right plants for my landscape?
Choosing the right plants makes your garden complete. For a low-maintenance landscape, rely on native plants and drought-tolerant plants. Always match the planting to your design style: use Japanese maples and bonsai trees for a Japanese garden, a neat shrub or hedge for a formal garden style, and wildflowers or grass for a naturalistic space.
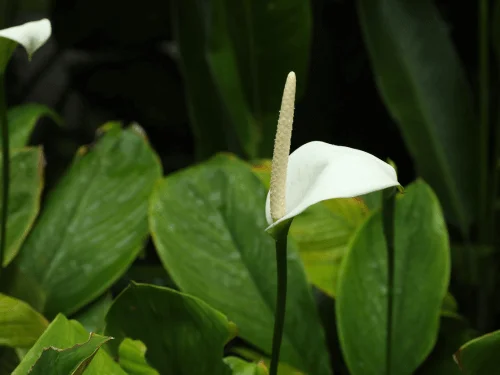
Known for their elegant white blooms and lush green foliage, peace lilies are among the most beloved indoor plants for both beginner and experienced gardeners. More than just a beautiful addition to your home, a peace lily plant also offers natural air-purifying benefits, helping to create a healthier and more serene living space. Whether you’re drawn to their graceful appearance or their low-maintenance nature, understanding the right care techniques is key to keeping your peace lilies thriving year-round. In this guide, we’ll walk you through essential tips on watering, lighting, soil, and overall maintenance so you can enjoy the long-lasting beauty and vitality of your peace lily.
Plant Attribute
Details
Plant Name
Peace Lily
Plant Type
Indoor plant
Size
1–4 ft tall, 1–3 ft wide
Soil Type
Rich, drains well
Soil pH
5.8–6.5
Bloom Time
All year indoors; most in spring/summer
Hardiness Zones
11–12 outdoors; indoors anywhere
Native Area
Tropical areas in Central/South America, Southeast Asia
Toxicity Level
Mildly poisonous to people and pets
Best Peace Lily Types
While most peace lilies share the same care requirements, there are several varieties that differ in size and leaf patterns:
Spathiphyllum ‘Mauna Loa Supreme’ – A classic favorite among peace lily enthusiasts, this variety is prized for its large, glossy, dark green leaves and tall, elegant white spathes that can last for weeks. Reaching up to 4 feet in height, it makes a dramatic statement in corners, entryways, or large office spaces. Its upright growth habit and generous bloom size give it a bold yet graceful presence indoors.
Spathiphyllum ‘Domino’ – This striking variegated variety stands out for its deep green leaves streaked and speckled with creamy white markings, giving it a more decorative look compared to solid green types. ‘Domino’ grows to about 30 inches tall, making it manageable for most homes while still providing a lush, tropical feel. Even without flowers, its patterned foliage serves as a natural centerpiece for living rooms or bright hallways.
Spathiphyllum ‘Sensation’ – The largest peace lily available, ‘Sensation’ can grow up to 6 feet tall in ideal indoor conditions, with massive, ribbed leaves reaching up to 20 inches long. Its bold size makes it an excellent choice for filling empty corners or adding a tropical statement to open-plan living spaces. The lush, dense foliage creates a sense of greenery and tranquility, even when not in bloom.
How to Plant a Peace Lily (Beginner-Friendly)
Planting Peace Lilies from a Potted Nursery Plant (Most Common)
Choose a Pot: Select one 1–2 inches wider than the plant’s root ball, with drainage holes.
Prepare the Soil: Use a high-quality potting mix containing peat moss, perlite, and compost.
Remove the Plant from Its Pot: Gently squeeze the sides and tip it out, being careful not to damage the roots.
Place in New Pot: Set the root ball in the center and fill around it with soil.
Firm the Soil: Gently press down to remove air pockets.
Water Thoroughly: Let excess water drain from the bottom.
Planting a Peace Lily from Seed (Rare and Slow)
Peace lilies are rarely grown from seed because germination is slow and unpredictable, but if you try:
Sow seeds in a shallow tray filled with moist, sterile seed-starting mix.
Lightly cover with soil (no more than ¼ inch deep).
Keep at 70–75°F in bright, indirect light.
Maintain consistent moisture. Germination may take weeks to months.
Peace Lily Growing Requirements
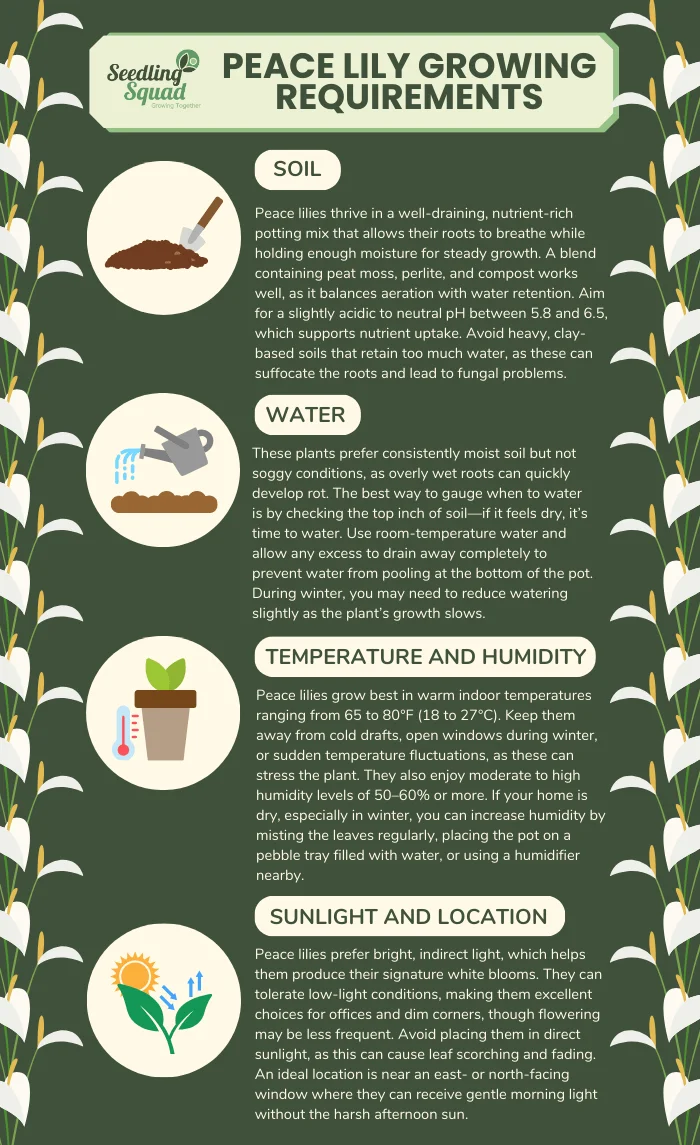
Soil
Peace lilies thrive in a well-draining, nutrient-rich potting mix that mimics their natural tropical forest floor environment, where roots grow in loose, organic matter. An ideal mix contains peat moss or coco coir for moisture retention, perlite or coarse sand for aeration, and compost or aged bark for nutrients. The pH should be slightly acidic to neutral, ideally between 5.8 and 6.5, as this range allows for optimal nutrient absorption. Avoid using heavy, clay-based garden soil, which compacts easily and traps excess water, depriving roots of oxygen and encouraging root rot. For long-term potted growth, consider refreshing the top few inches of soil once or twice a year to maintain fertility.
Water
Peace lilies prefer consistently moist soil but should never sit in waterlogged conditions. Overwatering is one of the most common mistakes with this plant and can lead to root rot, yellowing leaves, and fungal growth. The most reliable way to know when to water is to press your finger into the top inch of soil—if it feels dry, water thoroughly until it drains from the bottom. Always empty saucers after watering to prevent stagnant water buildup. These plants are sensitive to chemicals like chlorine and fluoride, so using filtered, distilled, or rainwater is ideal. In cooler months, when growth slows, reduce watering frequency slightly but never let the root ball completely dry out.
Temperature and Humidity
Being tropical plants, peace lilies flourish in warm, stable indoor conditions with temperatures between 65 and 80°F (18–27°C). Exposure to cold drafts, open windows in winter, or sudden temperature drops can cause wilting and blackened leaf tips. High humidity is equally important—aim for 50–60% or more to keep leaves lush and glossy. If indoor air is dry, especially during heating season, boost humidity by misting the foliage regularly, placing the pot on a water-filled pebble tray, grouping plants together, or using a humidifier. Insufficient humidity can result in brown leaf edges, while excessively dry air may also reduce flowering.
Explore a vibrant array of dahlia varieties and learn how to identify and classify each beautiful type.
Sunlight and Location
Peace lilies do best in bright, indirect light, such as near an east- or north-facing window, where they receive gentle morning or filtered daylight. In low-light conditions, they will still grow but may produce fewer blooms. Avoid placing them in direct midday or afternoon sunlight, which can scorch leaves, fade their deep green color, and cause yellowing. Rotate the plant every few weeks to ensure even light exposure and balanced growth. For windowless spaces, peace lilies can adapt to fluorescent lighting, making them a popular choice for offices and indoor work areas. If leaves start stretching or blooms become rare, it may be a sign they need more light.
Maintenance Tips for Peace Lilies
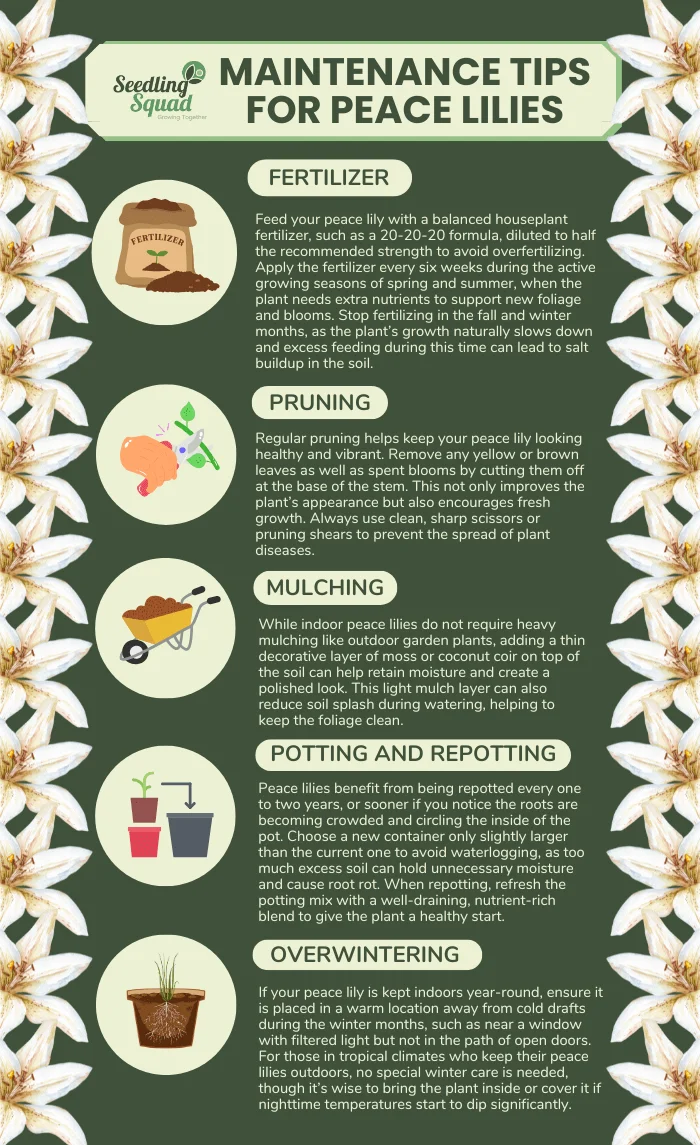
Fertilizer
Peace lilies thrive when they receive the right nutrients at the right time. Use a balanced, water-soluble houseplant fertilizer with an equal ratio of nitrogen, phosphorus, and potassium—such as a 20-20-20 formula. Always dilute the fertilizer to half the manufacturer’s recommended strength to avoid burning the roots or overstimulating the plant. Apply the fertilizer every six weeks during the active growing period in spring and summer, when the plant is producing new leaves and flowers. During fall and winter, the plant’s growth naturally slows, so discontinue fertilizing to prevent nutrient buildup and allow the plant to rest. For best results, water the plant lightly before fertilizing to help distribute nutrients evenly through the soil and reduce the risk of root damage.
Pruning
Regular pruning not only keeps your peace lily looking neat but also promotes healthier growth. Remove any yellow, brown, or wilted leaves by cutting them off at the base of the stem—these leaves are no longer helping the plant and may attract pests or fungal problems. Similarly, clip away spent flower stalks after blooms fade to encourage the plant to focus energy on producing fresh flowers. Always use sterilized, sharp scissors or pruning shears to make clean cuts, reducing the risk of introducing disease. After pruning, wipe the leaves gently with a damp cloth to remove dust and keep the foliage shiny, which also improves the plant’s ability to photosynthesize.
Mulching
Although mulching is not a necessity for indoor peace lilies, it can be a useful step to help with moisture retention and to give the pot a finished look. Apply a thin decorative layer—about half an inch—of materials like preserved sphagnum moss, fine bark chips, or coconut coir over the soil surface. This light mulch layer slows down evaporation, especially in dry indoor environments, and helps maintain more consistent soil moisture between waterings. It also prevents water from splashing soil onto the leaves when watering, which helps reduce the risk of fungal leaf spots. Avoid heavy mulching, as too thick a layer can trap excess moisture and create conditions for root rot.
Potting and Repotting
Peace lilies generally need repotting every one to two years, or sooner if you notice roots poking out from the drainage holes, soil drying out too quickly, or the plant becoming rootbound. Select a pot that is only one to two inches larger in diameter than the current one; too large a container can hold excess water and lead to soggy soil. Use a fresh, high-quality potting mix that drains well but retains enough moisture to support steady growth. A mix containing peat moss, perlite, and compost is ideal. When repotting, gently loosen the roots and remove any dead or rotting portions before placing the plant into its new home. Water thoroughly after repotting to help the roots settle into the fresh soil.
Overwintering
Since peace lilies are tropical plants, they require protection from cold temperatures. For indoor plants, keep them in a stable, warm environment with temperatures between 65–80°F (18–27°C) during winter, away from cold drafts caused by open windows, exterior doors, or heating vents. Reduce watering slightly during the cooler months, allowing the top inch of soil to dry before the next watering, as the plant’s growth will slow and it will need less moisture. For peace lilies grown outdoors in tropical or subtropical regions, they can remain outside year-round, but if nighttime temperatures drop below 60°F (15°C), move the plant indoors or cover it with a light frost cloth. Always monitor for signs of stress such as drooping leaves, which may indicate that the plant is too cold or too dry.
Common Pests and Diseases
Common Pests
Spider Mites
Spider mites are tiny pests that can cause peace lily leaves to develop fine webbing, yellow or brown speckles, and an overall faded appearance. They thrive in dry indoor environments and feed on plant sap, which weakens the plant over time. To control them, increase humidity by misting the leaves regularly or placing a humidity tray nearby. Wiping the leaves with a damp cloth can help remove mites, while heavier infestations may require insecticidal soap or neem oil treatments.
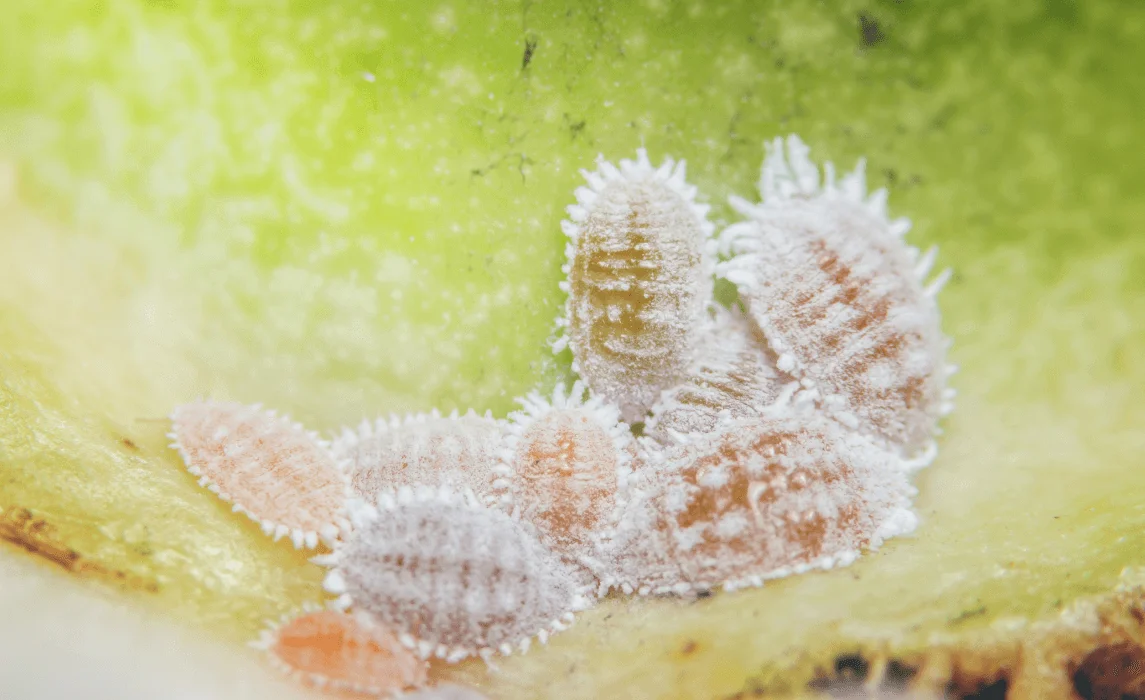
Mealybugs
Mealybugs are sap-feeding pests that appear as small, cotton-like clusters on the joints and undersides of peace lily leaves. They often leave behind a sticky honeydew residue that can attract mold. Warm, humid indoor conditions can help them multiply quickly. You can control mealybugs by dabbing them with a cotton swab dipped in rubbing alcohol or spraying the plant with neem oil weekly until the infestation is gone. It’s also important to isolate any infected plants to prevent the pests from spreading to others.
Scale Insects
Scale insects are sap-sucking pests protected by hard, dome-shaped shells, which makes them difficult to remove. They typically attach to the stems and leaves, causing yellowing and weakening of the plant. You can manage a scale infestation by gently scraping the insects off with a soft brush or cloth, then applying horticultural oil or neem oil to suffocate them. Treatments should be repeated every 7–10 days until the pests are completely eliminated.
Common Diseases
Root Rot
Root rot is one of the most common problems for peace lilies and usually happens when the plant is overwatered or grown in poorly draining soil. The first signs are wilting leaves despite moist soil, a foul smell, and mushy roots. To save the plant, remove the affected roots and repot it in fresh, well-draining soil. Always use a pot with drainage holes and water only when the top inch of soil feels dry.
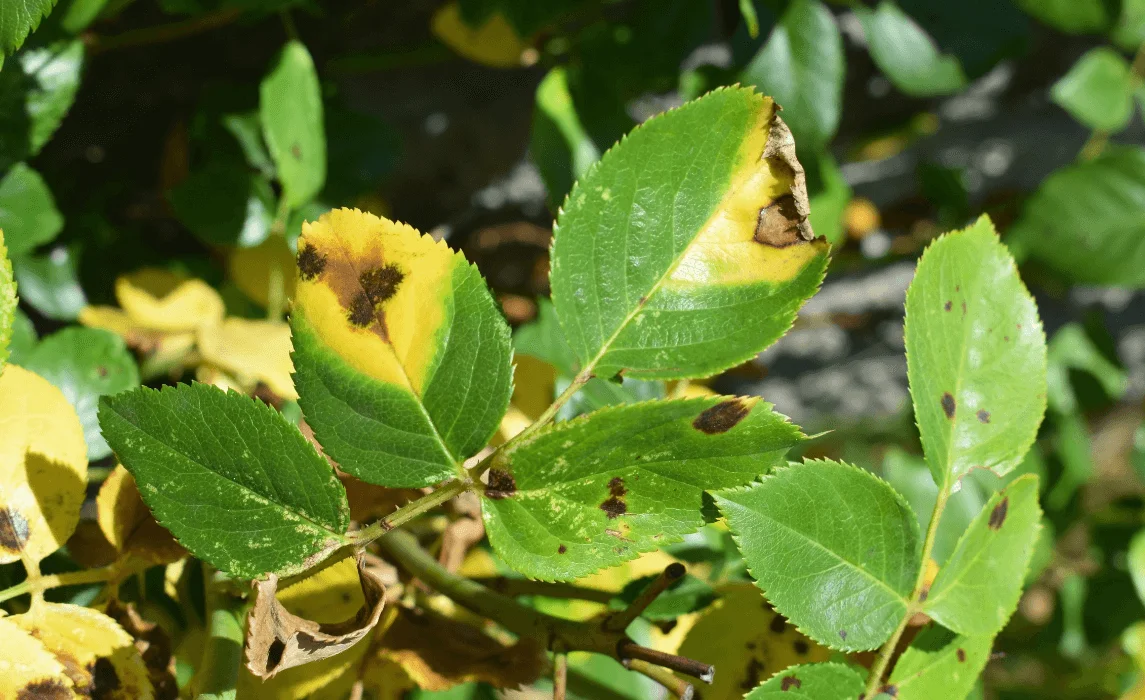
Leaf Spot Disease
Leaf spot disease causes brown or black spots with yellow halos to appear on peace lily leaves. Over time, the spots can merge, damaging large areas of the foliage. This disease is often spread by fungal or bacterial pathogens, usually through splashing water. To control it, remove infected leaves, avoid wetting the foliage when watering, and, if necessary, apply a copper-based fungicide to prevent further spread.
Cylindrocladium Root and Crown Rot
This fungal disease affects the base (crown) and roots of the plant, causing yellowing leaves, drooping growth, and a mushy crown with a foul odor. It is caused by the Cylindrocladium fungus, which thrives in wet, poorly drained soil. Severely infected plants are often beyond saving and should be discarded. Prevent the problem by using well-draining soil, watering carefully, and sterilizing tools and pots before reuse.
Learn how to design an eye-catching garden filled with vibrant purple perennials for year-round color.
Frequently Asked Questions (FAQ)
1. Why do peace lilies don’t bloom sometimes?
If your peace lily plant isn’t producing flowers, it may not be getting enough light. Peace lilies prefer bright, indirect light rather than low light if you want blooms. Try moving the plant closer to a bright window but avoid direct sunlight, which can scorch the leaves. Feeding during the growing season with a balanced houseplant fertilizer can also help keep your peace lily blooming.
2. What is the best watering schedule for peace lilies?
To water your peace lily correctly, wait until the top inch of soil feels dry before watering. In warmer months, your watering schedule may be once a week, while in cooler months it’s less frequent. Always use a pot with drainage holes and empty the saucer after watering to prevent the plant from sitting in water, which can cause root rot.
3. Can peace lilies grow indoors in low light?
Yes, peace lilies thrive indoors and are considered an easy plant to grow, even in low light. However, blooms may be fewer. For a beautiful peace lily with more flowers, place it where it gets bright light but avoid direct sunlight to keep the large leaves healthy.
Related posts
Here are some articles you might be interested in.


.webp)